2 Basic Sewing Techniques That Will Give Professional Results
Basic Sewing Technique #1: Understitching
Hello guys!
In today’s Basic Sewing Tutorial post, we are going to be discussing the sewing techniques known as understitching and “grading seam allowances”. The former is used to keep a facing from rolling to the outside of the finished garment. I’ll cover the latter in the second half of this post.
You will see this technique used in necklines, armhole facings, waistband seams and to keep the inside of a strapless dress from showing on the outside.
The technique is very easy to understand. Sometimes, though, depending upon where this method is used, it can take some major maneuvering to get the stitches in nooks and crannies (such as some necklines). Now, don’t let that scare you. If you have a tricky spot, you just stitch as far as you can go, and that’s it! Simple.
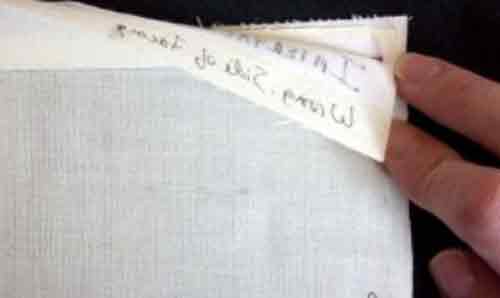
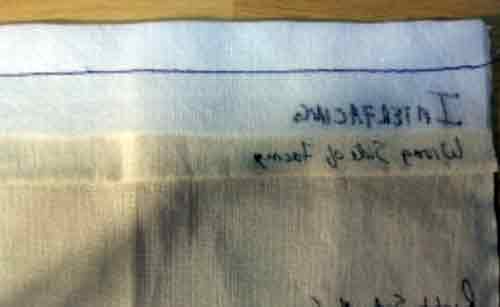
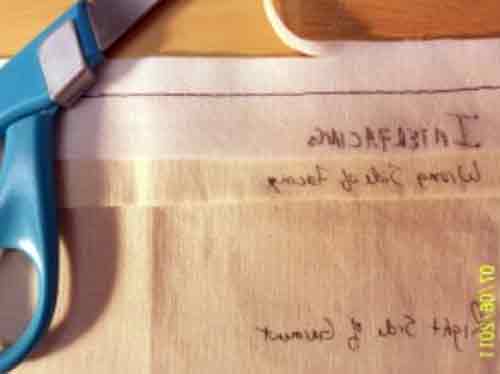
This is a sample of how to do this technique/stitch. First you will open out your seam as far as possible. Then press the seam allowances toward the facing or lining of the garment. Sometimes you will have to do this in steps if you are working on a curved area.
In today’s Basic Sewing Tutorial post, we are going to be discussing the sewing techniques known as understitching and “grading seam allowances”. The former is used to keep a facing from rolling to the outside of the finished garment. I’ll cover the latter in the second half of this post.
You will see this technique used in necklines, armhole facings, waistband seams and to keep the inside of a strapless dress from showing on the outside.
The technique is very easy to understand. Sometimes, though, depending upon where this method is used, it can take some major maneuvering to get the stitches in nooks and crannies (such as some necklines). Now, don’t let that scare you. If you have a tricky spot, you just stitch as far as you can go, and that’s it! Simple.
This is a sample of how to do this technique/stitch. First you will open out your seam as far as possible. Then press the seam allowances toward the facing or lining of the garment. Sometimes you will have to do this in steps if you are working on a curved area.
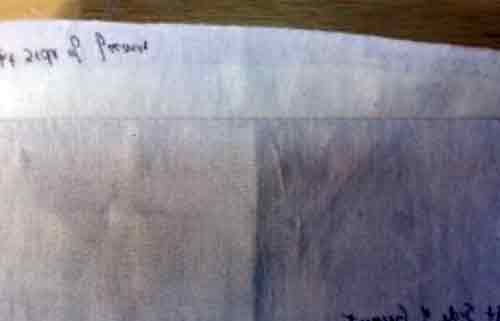
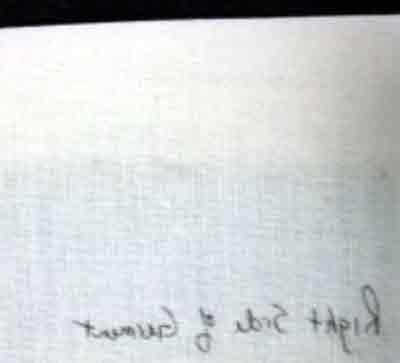
Press seam allowances toward facing
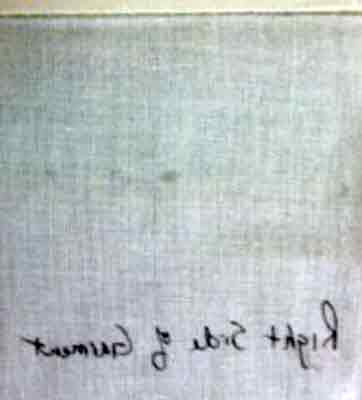
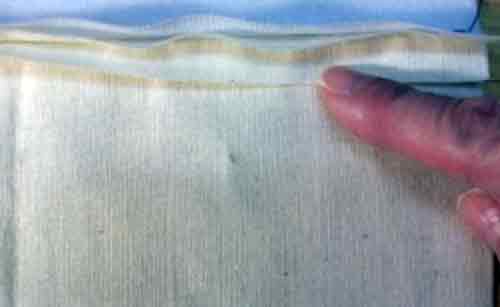
Pressed seam seen from right side of project
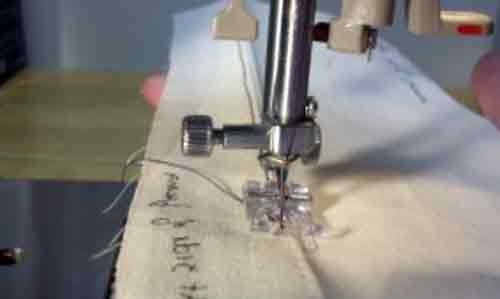
Next, you will stitch close to the seam allowance on the FACING or LINING side of the seam. This “understitch” anchors the facing or lining to the seam allowances, and that prevents the facing or lining from showing on the outside of the finished garment.
Stitching close to edge of seam on facing side of seam understitching
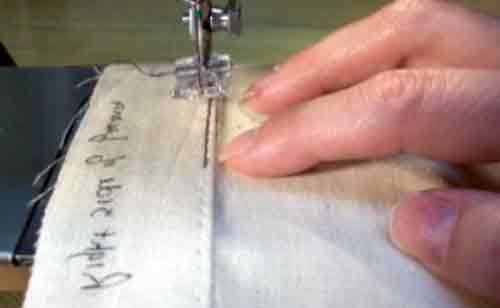
Understitching
Understitched seam seen from project right side
After stitching, you will turn the facing to the inside of the garment (where it belongs), and press.
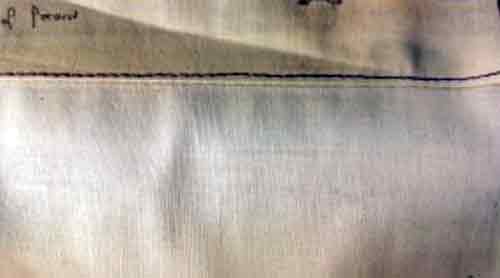
Finished seam from wrong side of project - understitching seen at top
On the right side, the finished understitching does not show at all.
Finished seam from right side
There you have understitching! This is a really useful technique in producing professional sewing results. So when your pattern instructions say to understitch – do it!
I hope you enjoyed this tutorial, and let’s go over to basic sewing tutorial technique no.2!
I hope you enjoyed this tutorial, and let’s go over to basic sewing tutorial technique no.2!
Basic Sewing Technique #2: Grading Seam Allowances
Okay, for technique no. 2, I’m going to explain the sewing technique of grading seam allowances.
This technique is used when you are not going to press a seam open, such as in a neckline. Grading means to cut your seam allowances in graduated widths so that you cut down on the bulk inside the seam area.
This is a very easy technique to learn. Let’s suppose you are sewing a top with a simple round neck. You will have your fashion fabric (the outside of the garment), a facing to finish the edge, and probably interfacing. In this instance, you would want to grade the neckline seam allowances to help your finished neckline to lie flat and smooth.
First you would trim the whole seam allowance to 1/2″. Next, determine the edge of the seam allowance that will lie against the neckline when the garment is turned right side out. This is the side that stays at 1/2″.
Showing all layers in seam allowance
Trim all seam allowances to 1/2"
Next, you will trim the other two layers (the interfacing and the facing) by 1/16″ graduations. Your seam allowance will look like this when done.
Graded seam allowance
Depending on what type of garment you are making, you may have only 2 layers to grade, or you may have 4 or even 5 layers. Just trim each layer a tiny bit more than the layer before and everything will be fine.
There you have “grading” seam allowances. See, I told you it was easy. It is easy, but very important. It’s the seemingly little things like this that really produce professional looking results in your sewing endeavors.
I hope this basic sewing tutorial will be of help in your learn how to sew journey. Please leave comments and/or questions about this technique or any sewing-related issue, and I will answer just as soon as I can!
Thank you SO much for visiting thesewingjunkie.weebly today. I hope you enjoyed your visit and will return very soon!
